Showing posts with label Julep. Show all posts

Monday, July 29, 2013

CrowsToes Green Thumb of Doom over Julep Susie

For reasons that I can only dimly identify, the trouble I went to to get this post's manicure right reminds me of a favorite quote from The Adventures of Buckaroo Banzai Across the 8th Dimension. It's the scene where Buckaroo and the band are playing their gig and suddenly in the middle of a riff Buckaroo stops playing and grabs the mike.

Buckaroo Banzai: Is somebody out there not having a good time? Is somebody... crying?
Penny Pretty:  Me. *sniffle* It's me.
Crowd: Boo!
Buckaroo Banzai: Hey, hey, hey, hey-now. Don't be mean; you don't have to be mean... 'cause, remember, no matter where you go, there you are.

Deep! *wink*

This mani features a fabulous polish from indie polish maker CrowsToes called Green Thumb of Doom. Green Thumb of Doom is a shimmery blue-leaning bright grassy green jelly polish packed with color changing microflakies that shift from green to gold depending upon the angle of light. The microflakies are the star of this show, giving this stunning polish fantastic chromatic depth and enormous visual appeal. They glow in dim and indirect light and light up with sparkle in the sun. Despite the name, this is a happy, sprightly polish.

Being a jelly, Green Thumb of Doom is translucent. I've seen online photos of full manicures done with this polish by itself, but those folks are nail enthusiasts of a much higher caliber than I. For my manicure, underwear was necessary. I chose a pale mint green from Julep called Susie.

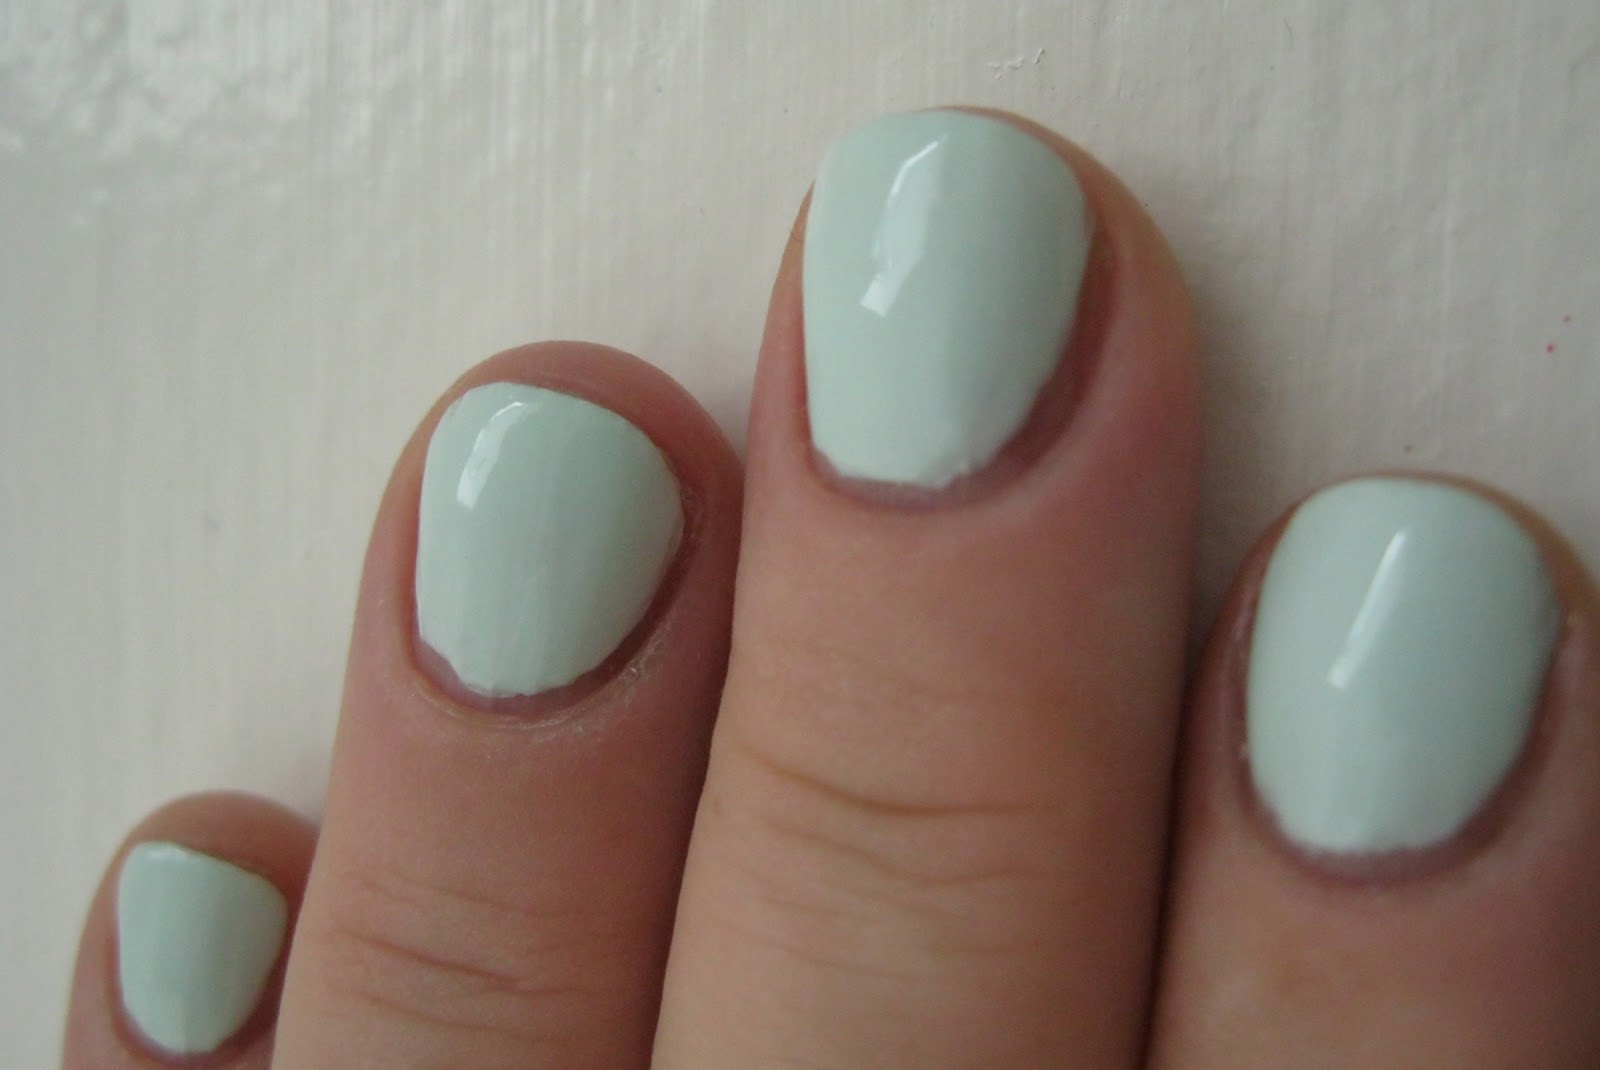
Susie is described by Julep as a "muted mint green." If whitened to the point of pastel is muted then that's accurate. Susie is the palest of pastel mints. 

And it applied as pastels do, streakily. Now I wasn't deterred by this, having learned that just getting the first coat on is enough to put you well on the way to winning the battle of application. Streaks are par for the course. By the second coat, those streaks should be evening out if the polish is decently self-leveling. 

Susie refused to self-level. Plus there was bubbling. Gripped by a knot of anxiety, I immediately slathered on a thick third coat. Never do that! If a polish has any tendency to bubble, it will certainly do so with a vengeance the second you start slathering.

And bubble bubble bubble it did. Like mad. Ok fine, I said. Grabbed the remover and my fabulous Graham Hands Down Ultra Nail Pads, took it all off and began again. 

Seche Rebuild, then Essie First Base. Then I applied two very thin coats of Susie, taking care to let the first one dry before the second. It was streaky and AGAIN with the bubbling. I was like, OMG! In desperation I grabbed Green Thumb of Doom and quickly applied two coats. Since I was a tad put off by what was happening I got a little loose with my technique so there was swipage. MAJOR swipage. I mean there were microflakies all over the place. All in all, a hot mess. Still I kept going and slathered on a fat coat of Seche Vite over the whole thing. 

And lo... something wonderful happened. No, the swipage was still there but once again the Seche Vite exerted it's magical force over the unruly polishes beneath and the manicure, the part that was on my nails, actually took form. It was still a hot mess mostly, but I could see the potential there.

I thought about it for a while. I even took some photos, which luckily for you I won't share. And then, once again, I removed it all and started over.

This time for every coat of Susie I immediately applied a coat of Poshe Super Fast-Drying Topcoat right on top of it. Now you may well ask, why not Seche Vite? Indeed I could have used Seche Vite but chose Poshe because it goes on just a little bit thinner. Layer of Susie, layer of Poshe. Another layer of Susie and another layer of Poshe. 

And it worked. Hallelujah. Perfect? No. But passable, especially compared to previous efforts.


Julep Susie


Julep Susie


Julep Susie


Julep Susie


Julep Susie

Lesson learned: if you've got a pastel or any polish that's giving you application trouble, top each layer with a coat of fast dry topcoat. I'd heard about this technique before, and it really does work.

If you're keeping track (and why wouldn't you be?), counting the failed manicures that led up to it that's twelve polish coats' worth of labor right there in those photos. All for a pillow where Green Thumb of Doom could lay it's shimmery green head. Was it worth it? Let's see....


CrowsToes Green Thumb of Doom, bottle shot


CrowsToes Green Thumb of Doom, on the nail (over Julep Susie) and in the bottle


CrowsToes Green Thumb of Doom over Julep Susie


CrowsToes Green Thumb of Doom over Julep Susie


CrowsToes Green Thumb of Doom over Julep Susie


CrowsToes Green Thumb of Doom over Julep Susie


CrowsToes Green Thumb of Doom over Julep Susie


LOVE!


CrowsToes Green Thumb of Doom over Julep Susie


CrowsToes Green Thumb of Doom over Julep Susie


CrowsToes Green Thumb of Doom over Julep Susie


CrowsToes Green Thumb of Doom over Julep Susie


CrowsToes Green Thumb of Doom over Julep Susie


CrowsToes Green Thumb of Doom over Julep Susie


CrowsToes Green Thumb of Doom over Julep Susie


CrowsToes Green Thumb of Doom over Julep Susie


CrowsToes Green Thumb of Doom over Julep Susie


CrowsToes Green Thumb of Doom over Julep Susie

Yes! Yes! Yes! Way worth it, wow, big love for this polish. Those microflakies are fab-u-lous. They make Green Thumb of Doom look like a glass fleck, no? Such a fresh free-spirited green, fit for a leafy little faerie princess... like YOU! 

Don't worry, Eleanor, I wouldn't subject you to the Julep. I'll find some less problematic underwear for Green Thumb of Doom. Mojito Madness by Essie, or Josie by Zoya. I'm putting both of them on my "Wanna" list, and when I get 'em I'm coming up to decorate your wiggly mitts with Green Thumb of Doom.

Sounds like a plan, eh? Bet on it!

love,
Aunt Liz


Sunday, July 28, 2013

Orly Be Brave over Julep Amy

Just say yes to holographic bar glitter! Right? Right!

I broke out my bottle of Be Brave by Orly for this post. What in the world has taken me so long to do that? Be Brave is part of a large collection of glitter toppers called Flash Glam FX that Orly released last summer. It is basquillions of pink holographic bar glitters in a clear base. Mmm-mmm, goooood cracker!

The bar glitters in Be Brave are relatively short and easy to disperse on the nail with my plosh and spread method, better known as dabbing. Really this is the best way to apply bar glitter on short nails. If you stroke it on like a regular polish, not only do you not get enough glitters but all the bars align and end up with the same toe-to-tip orientation on the nail. Now this effect can be fabulous on long nails. See this video by Colette of My Simple Little Pleasures for an amazing example: Orly Sunglasses at Night over Liquid Vinyl. But there's just not enough room on short nails to work the glitter that way. 

Colette has a polish-in-motion video of Be Brave also: Orly Be Brave over Orly Liquid Vinyl. Actually I highly recommend all of her polish-in-motion videos to your nail-polish-loving young eyes, they are a wonderful exuberant way to experience the beauty of polishes that cannot be captured by a still photo.

I layered Be Brave over Amy from Julep. Amy is described by Julep as a smoky turquoise. Actually I think it's got more cyan in it than the typical turquoise does. It's kind of like a deep well-saturated murky robin's egg blue. The contrast between Amy's blue and Be Brave's pink is just delicious!

Amy applied beautifully. I used two coats over my basecoat duo but one would be sufficiently opaque for someone with smooth nail beds. My nail ridges need two. Over that I applied a coat of Orly Sec 'n Dry. Once that was set and dry, I ploshed on as much Be Brave as I could fit on my nubbins. Up-ending the bottle of Be Brave before application helped to get as much of the bar glitters as possible in easy reach of the brush. I finished this manicure with a coat of Poshe fast-drying topcoat.

I showed this combo to John, who said it looked like a parade route. I think that means he liked it.


Orly Be Brave over Julep Amy on the nail, Julep Amy in the bottle


ditto


Orly Be Brave over Julep Amy on the nail, Be Brave in the bottle


Orly Be Brave over Julep Amy, macro shot on the nail -- with bonus bubbles!


Orly Be Brave over Julep Amy


Orly Be Brave over Julep Amy


at the window...


Orly Be Brave over Julep Amy


EXTREME CLOSE UP WHOA!


Orly Be Brave over Julep Amy


Orly Be Brave over Julep Amy -- how cute is this?


Orly Be Brave over Julep Amy


Orly Be Brave over Julep Amy


Orly Be Brave over Julep Amy


Orly Be Brave over Julep Amy


Orly Be Brave over Julep Amy


Orly Be Brave over Julep Amy


Orly Be Brave over Julep Amy


Orly Be Brave over Julep Amy


Orly Be Brave over Julep Amy

TDF! I love and adore the holographic prismatic flashes from the pink bar glitters in this combo! In person, those flashes actually move across the nail as you turn your hand. I could sit and watch this for hours. In fact, I think I will! Ha!


It's a good thing you don't watch commercial tv, Eleanor. Office Depot has already started with their bts (Back To School) ads. In July? Why do that?

love,
Aunt Liz


Saturday, July 27, 2013

It's a Dotticure, Y'all!

Well Eleanor, once again I have stepped out of my comfort zone and into waters that are over my head. How could I not share that precious moment with you?

It started innocently enough. A new and different polish, a manicure, some photos... and then... then I found myself contemplating my dotting tools and the other polish colors that are grouped on the edge of the bathtub waiting for me to try them. The next thing I knew, there were blobs of polish everywhere and I sensed the metaphysical sands shifting beneath my wayward feet. But I'm getting ahead of myself.

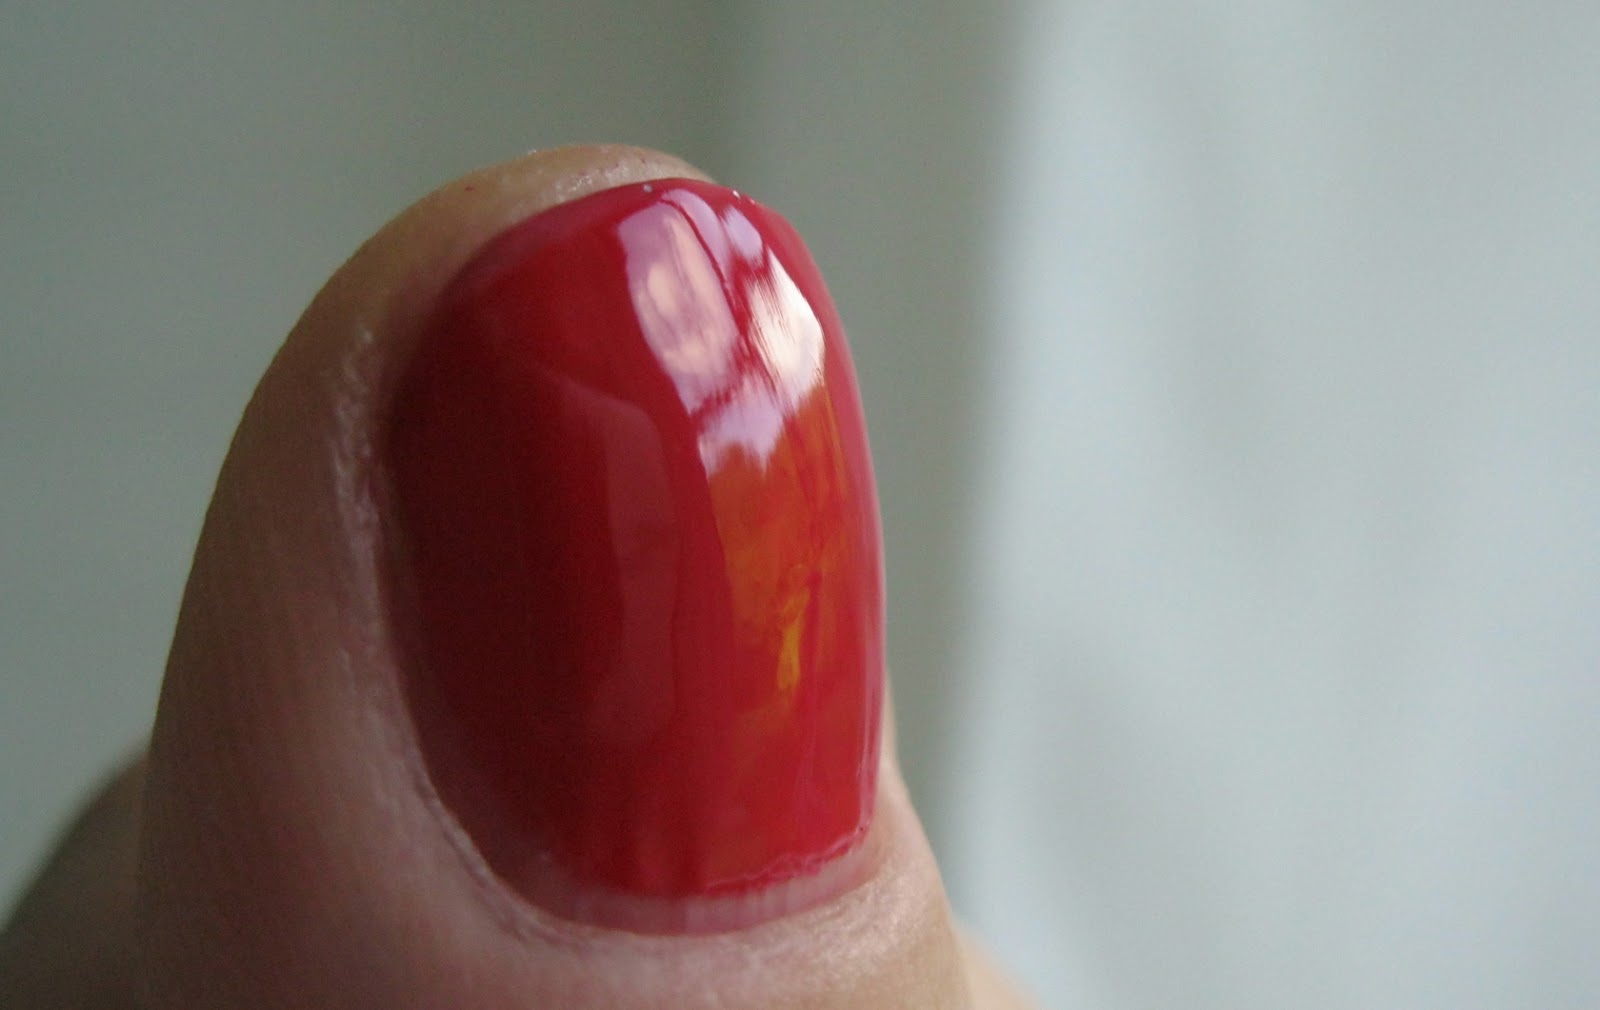
The new and different polish in this post is Rose by Julep. Rose, as you would imagine, is a rosy red creme polish. Actually, sexy Julep describes it as a "juicy watermelon red." It's a bright medium cool-toned red with pink undertones, well-behaved in application and drying to a glossy finish. Would you like to see it? Sure, I knew you would.


Julep Rose


Julep Rose


Julep Rose


Julep Rose


at the window...


Julep Rose


Julep Rose


Julep Rose


Julep Rose


Julep Rose


Julep Rose

Lovely and as fine on the nubbins as any polish could be.

Then, of course, came the dotticure. I bet you can guess what a dotticure is, no? Dotting + manicure = dotticure. Feeling that it would be a good idea to heed the words of wisdom we all know so well, ie "experience is the best teacher," I grabbed my dotting tools and some other polish colors and just stepped on up to that plate. 

Yes, disaster ensued -- but I learned a lot! 

Here's what all I used:


dotticure stuff!

Most of the above melange is familiar to you, I think. The red polish is Rose, of course, and the blue Julep is Amy. The chartreuse-looking Sinful Colors is actually Unicorn, a medium yellow and not, as I learned, the best polish for making yellow dots. A little on the thin and not-as-opaque-as-you-want-it-to-be side. (Note to self: get a better yellow polish!) But good enough for a rank amateur wanting to practice her dots. Then there are the two dotting tools I used, my clean up brush (remember when you were here and it got lost in the living room? we finally found it!) and my cute little dapping cup for holding clean-up acetone.

I will save the exploration into dotting technique for a time when I've actually gathered some knowledge worthy of sharing, if that ever occurs. Safe to say that I have a long row to hoe. For now, I can only tell you that I did two sets of dots on top of the Julep Rose manicure. I did a set of large blue dots and a set of smaller yellow dots on top of the blue ones. The effect is, uh, well it's colorful, how about that?


le dotticure


ditto


dotticure at the window...


and so on...


and so forth...


woohoo...


go dotticure go...


dotticure in da house y'all...


word!

So there you have it, my first full dotticure -- may there be much improvement in the future. I figure I'll wear this long enough to accompany John to the NC DMV (North Carolina Division of Motor Vehicles) today to register Moby. After that I'll remove it and start over. With other colors, of course.

Keep hope alive, Miss B!

love, 
Aunt Liz

ps Edited to add that the DMV clerk commented on my dotticure. She said it was "colorful." Ha!